Monday, April 29, 2013

DIY: Sugar scrub

Hello everyone! I hope you're having a good Monday! I'm sorry it's been a while since my last post, but here is a new one. So, get excited! Today I'm going to show you how I make my own sugar scrub at home. I have dry skin, so I need a moisturizing scrub. One that will nourish my skin, but get rid of all that flaky dead skin. I tried so many store bought scrubs, and was never happy with how they performed. However, this scrub, gets rid of all my flaky skin, and leaves my skin highly moisturized. There are many recipes for DIY scrubs online, this is how I make mine. The best part is it's natural, and you know exactly what's being put on your skin. All you need is 2 ingredients for a basic scrub. I like to use a few other ingredients, but they aren't necessary to make a good scrub. Lets get into it! 


For a basic scrub you need:
3/4 cup of coconut oil
1 cup of sugar
a mixing bowl
and something to stir with.


You can use any kind of sugar(except powdered sugar). Brown sugar makes for a more gentle scrub. If you have oily skin, you can use salt. I personally can't use salt because it dries out my skin. The finer the grain of your sugar or salt, the more gentle the scrub.The larger the grain the more harsh your scrub will be.

You can use olive oil if you don't have coconut oil on hand. 
The coconut oil I'm using today isn't my first choice. This is just the only one the stores near me have. I am ordering my favorite one soon. I'll link it below. I want to rave about coconut oil, but I'm going to do a separate post on it soon. So, look forward to that! Just know, I love coconut oil, and it's amazing for your skin and hair.


optional ingredients:
Honey(pure, raw honey is best) for it's natural antimicrobial properties
Vanilla, for a lovely scent
Jojoba oil, beneficial as a moisturizer
Almond oil, helps cure acne
Grapeseed oil, for it's ability to nourish the skin

All of these optional ingredients have so many more benefits than I have listed. However, you don't need to add these items for the scrub to be amazing. These ingredients just make it even more amazing.

Step 1: 
Measure out 3/4 cup of coconut oil. You might need to melt it depending on the temperature of your house. I had to melt mine on the stove for less than a minute to get it to this consistency. You don't have to melt it, but it does mix easier when you do.

If you're making the basic sugar scrub with just two ingredients, skip down to step six.

Step 2:
If you're adding any extra oils, this is when you add them. I added 1 tsp each of, almond, jojoba, and grapeseed oil.


Step 3:
This is another optional step. Add any skin safe fragrance you'd like at this point. You can add a couple drops of your favorite essential oil, or use 1 tsp of vanilla like I did. 

Sometimes, I like to add a couple drops of peppermint oil at this point. It adds a nice tingle, if you like that. Just don't add too much, it's a very potent oil. 

Step 4:
This is another optional step. Add one tablespoon of raw honey. Honey locks in moisture, and is naturally antimicrobial. It helps fight acne, and moisturizes skin. Plus, it adds a heavenly scent. 


Step 5:
Stir all the ingredients together. You want them mixed well before adding the sugar. 


Step 6:
Add 1 cup of sugar. If you want a more abrasive scrub add a little more sugar, if you want a more gentle scrub add a little less. It's easy to customize to your skin, and your needs.

Step 7:
Mix your scrub well. You want to make sure all of the ingredients are evenly distributed. It will kind of look like mashed potatoes. Which is a bit odd, I know, but will smell like a heavenly dessert. 
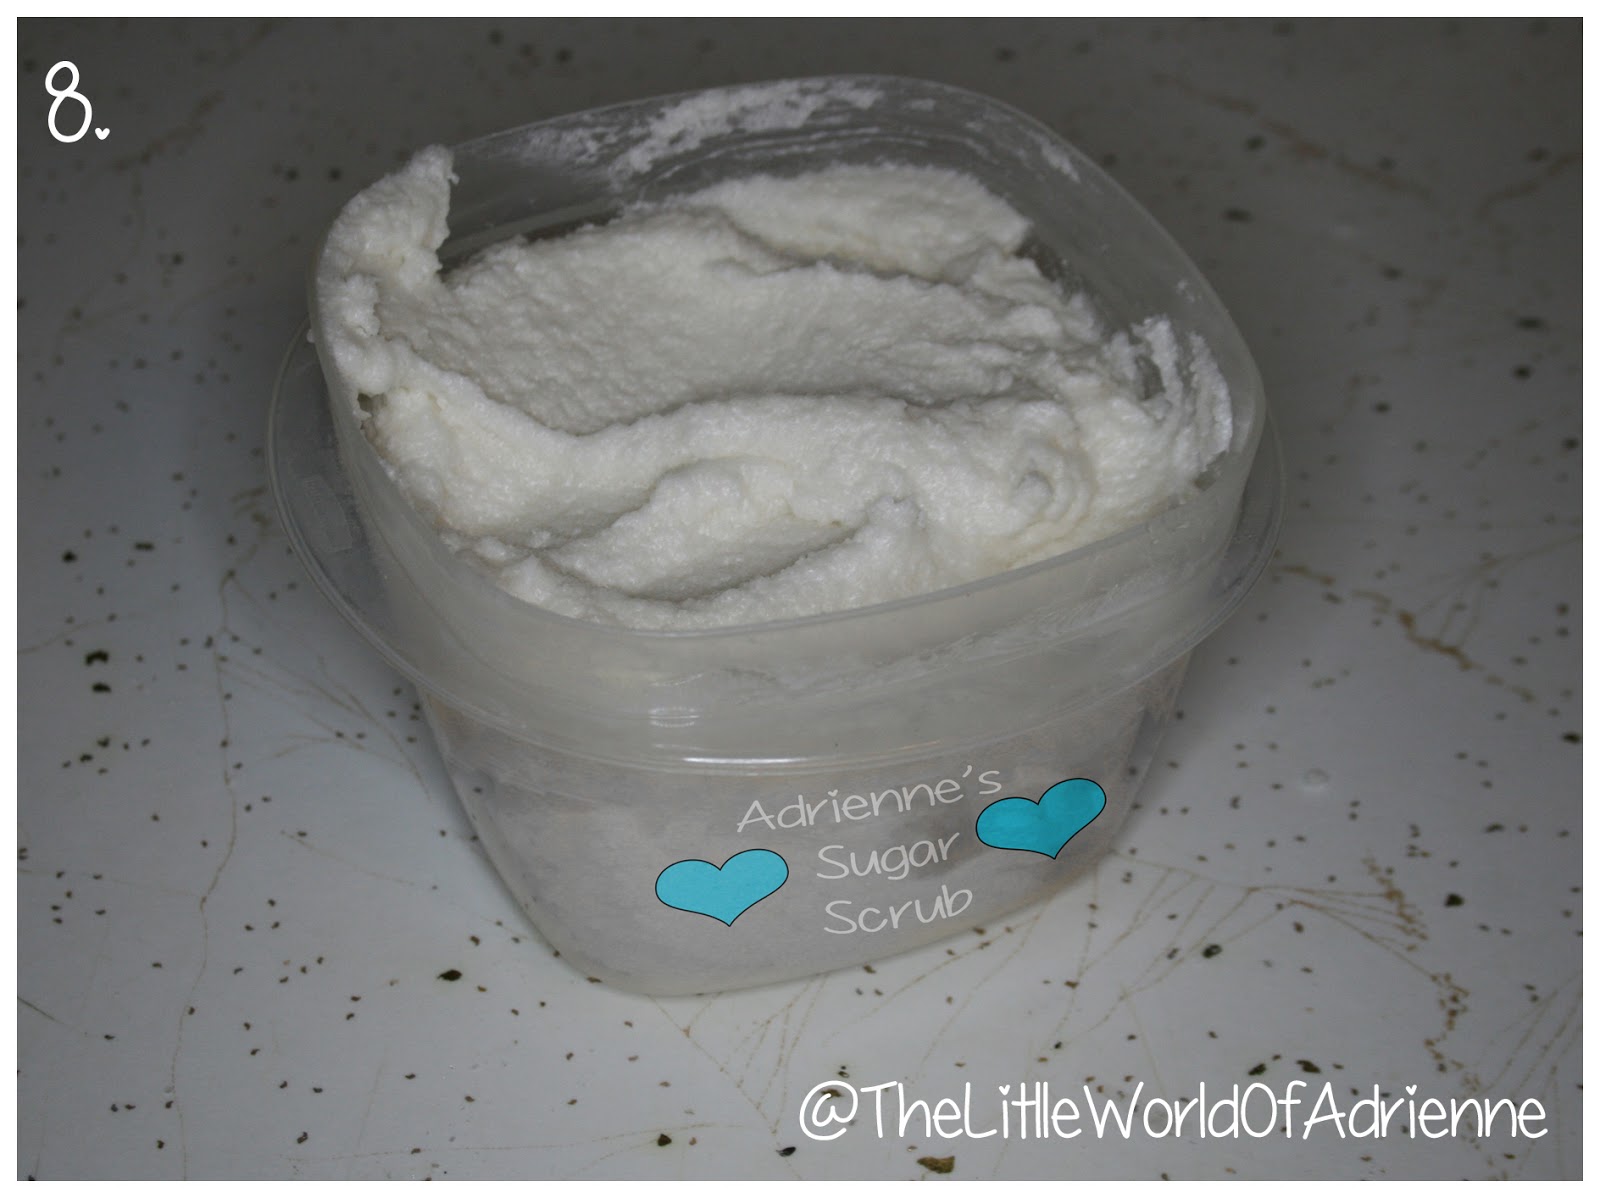

Step 8:
Put your scrub into a container you can put a lid on. I had a much cuter glass container for mine. However, oil, and water lead to me dropping it and breaking it. So, I'd suggest if you're a little clumsy like I am, use a plastic container.
__________________________________________________

That's all there is to it! Sometimes I like to use a mixer and whip up the scrub, just for fun. It whips up very nicely, but if it heats up too much the fluff with dissipate over time. You could add cosmetic grade dye, to add some fun color if you'd like. 

I like to keep mine in my bathroom. I use it on my whole body, and love to use it just before I shave. Not only does it get rid of dead skin ensuring a closer shave, but the oils left on your skin from the scrub make for a great shave oil. 

To use it, just wet the skin. Take a generous amount and scrub in circular motions. Scrub gently for 30 seconds to 1 minute. Rinse, and pat skin dry. Pat gently as to not remove all of the oils. The oils will absorb into your skin quickly, leaving your skin smooth and moisturized. I like to use it 2-3 times a week. 


I hope you give this scrub a shot, and say Bye Bye, dull, dry, flaky skin!

Thank you for taking time out of your day to read my blog. I hope you found it helpful, and try your hand at making your own sugar scrub. Play with the ingredients, personalize for your skin type. If you have any questions feel free to ask. I'd love to hear from you. Like me on Facebook to see more from me. I'm also on Instagram and Pinterest, and Twitter . Check out my other blog for all things nails. 
Have a blessed day,


Saturday, April 6, 2013

No Heat Curls! The Sock bun Secret!

Hello Everyone! I'm sorry it's been a few days since my last post. I had so many ideas for this blog when I made it, but then I've had camera trouble, and a lack of inspiration. Don't worry, I'll get better. Today my post won't be something as personal as my first post, but I hope you enjoy it all the same. 
I often get complements on my hair, and I've got one secret weapon. I'm not good with hair, but I look like I am with the secret I'm going to attempt to teach you today. My hair is very damaged, so I try to avoid heat, but love the look of curled hair(plus, I'm not high maintenance I don't want to have to curl my hair). So, when I came across the "sock bun" I was ecstatic. Not only does it keep my fine hair out of my face without constantly having to pull it back up, but when I take my hair down I have the most beautiful curls. My hair is extra long and it's always getting in my way, so I like to keep it pulled up unless I'm going somewhere. My hair is very soft and fine, so it just slides out of most buns. Not this one though, I even sleep on this one without it falling out. Ok, so onto the pictures of me trying to show you what to do.


These are all of the things you'll need:
1, clean old sock(I mean we all have socks with holes, or the odd sock you can't find the match for) If you're worried about the sock showing up, use a sock the same color of your hair.
1, pair of scissors
1, hair elastic
(not pictured here) optional, a spray bottle of water
__________________________________________________


Step 1: Choose how much of the tip of the sock you want to cut.

Step 2: Cut the desired amount of the tip of the sock off. You should be left with a tube, open at both ends. I find the best results with about 6-8 inch pieces. My sock was long enough I got 2 sock bun forms out of it.


Step 3: Take your tube and roll it into a doughnut shape. 

__________________________________________________

You should have at least one of these now. You can buy bun forms at any beauty supply store that are this shape. I personally don't like them because my hair sticks to them, and as I'm unrolling my hair, it pulls the curls out. I prefer the sock bun.
__________________________________________________


Step 4: So, you have your sock bun forms made, brush your hair and get it ready to pull up.

Step 5: This is optional, but I like to spray my hair with water or a leave in conditioner lightly. Your hair should be mainly(at least 80%) dry. I just find my hair curls better when it's slightly damp.

Step 6: Pull your hair up into a high simple ponytail. 
__________________________________________________


 Step 7: I always comb my hair once I have it pulled up.

Step 8 and 9: pull your hair through the sock bun form. Make sure you get all your hair through the form. You don't want to have any straggling pieces of hair just sticking out. 
__________________________________________________


Step 10: Keep the form at the top of the ponytail and flip your hair upside down. Then comb your hair one more time. It helps for smoother curls in the end. Now, slide the form down your hair, stopping about 3 inches from the end. Wrap those 3 inches around the form. If your hair isn't as long as mine you might not have to flip it upside down the way I do.

Step 11: Start rolling the form up your hair. Making sure to try and keep you hair pulled taut. 

Step 12: Keep rolling up towards the base of your ponytail. As you roll the form up your hair will start to spread out and cover the form.
__________________________________________________


Step 13: Around here, I stand back up straight, and Hold the hair taut over my head and keep rolling. As you can see, the hair is spreading out and covering the form. 

Step 14: You're done with your bun! You can add some bobby pins if you feel the need, but I don't most of the time. I find it hold just fine without them, and I even sleep with mine in. I know it seems like it's a lot of work, but it's not. When you get the hang of it, it will take you 30 seconds to do. It's worth that little bit of time, I promise! 

Step 15: Leave the bun in your hair for a couple hours. Like I said, I sleep in mine. When you take your hair down you'll be left with beautiful curls like these! I finger comb my hair, spray with a little hairspray, and I'm ready to walk out the door.
__________________________________________________

Here are a link to a video on the sock bun. You might find more helpful.

http://www.youtube.com/watch?v=S3CryIfIyK8


I love how my hair looks when I've had my hair up in the sock bun. Even if I didn't get these gorgeous curls I would love the bun though, it looks very cute, and keeps my long hair out of my way all day/night. I always go to sleep in the sock bun so that my hair is ready for whatever the day has in store for me. I hope you give the sock bun a try! If you have any questions, feel free to ask, and I will do my best to answer. You can always, like me on Facebook if you want to see more from me. 
Have a blessed day,