Monday, December 23, 2013

Even More Last Minute DIY Gift Ideas!


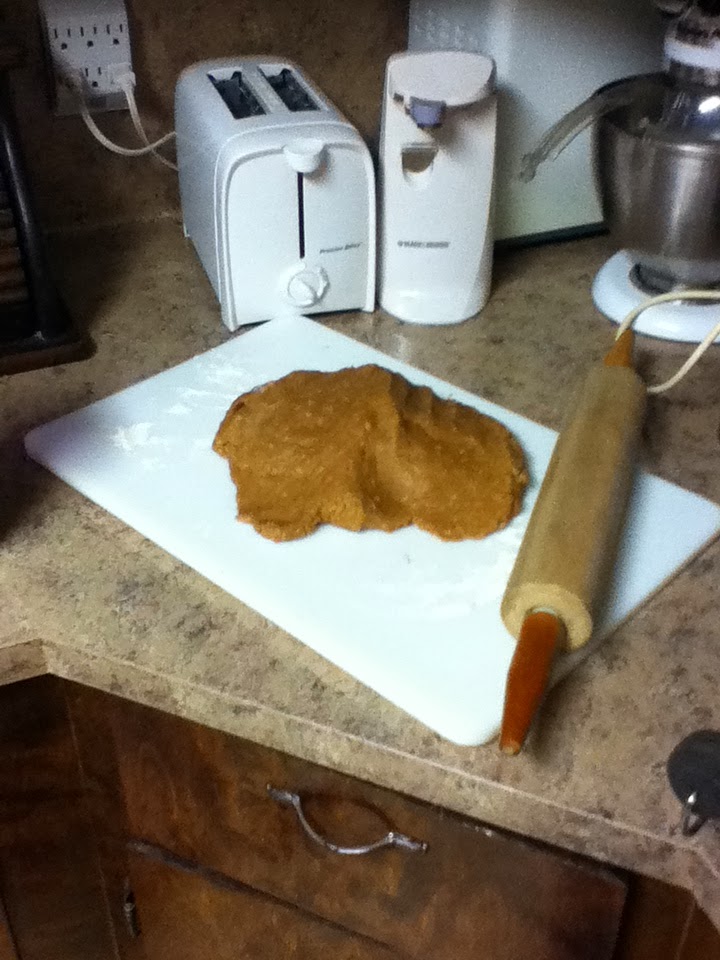
Hello again everyone! Aren't you shocked, This will make 3 blog posts in 2 days. I think that's a new record for me. Give me a second while I pat myself on the back....Ok now that's that's done let's get into what today's post will be about. If you couldn't tell by the title I'm here with a few last minute gift ideas for Christmas. I know Christmas is just 2 days away. I'm sure someone is looking for some last minute DIY Christmas gifts. As I told you in my DIY Whipped Peppermint Pattie sugar scrub post, this year we had the theme of "Homemade Christmas". So here is what all we gave the women. A gift of an assortment of homemade goodies(plus one of the items we made for the men). 


I already have a whole blog post on how you can make this scrub. Check it out here.


Healing Honey and Clay Mask
What you need:
3 tablespoons all natural Bentonite Clay*
3 1/2 tablespoons water, or apple cider vinegar
1-2 Teaspoons raw honey*

What you do:
Mix all of the above ingredients together in a glass bowl. Once they are well mixed scoop them to a nice container. We got this small jar on sale 50% off at Hobby Lobby. Add a label and some ribbon and you're all ready to gift.

Directions for Use:
Apply Healing honey and Clay 
mask generously to face or other
area. Let it dry for 5-10 minutes
for delicate skin, and 15-20 
minutes for normal skin. Remove 
mask by rinsing with warm water 
or by using a warm damp washcloth. 
Slight redness is normal and should 

disappear in 30 min. 

*You can get bentonite clay and raw honey at any health food store.


Body Powder/Dry Shampoo
What you need:
2 parts cornstarch or arrowroot powder
1 part baking soda
a couple drops of your favorite essential oil(I used orange oil)

What to do:
Mix together cornstarch or arrowroot powder with baking soda. Add in a couple drops of essential oil. Stir all ingredients together. Sift if there are any lumps. Then pour the mixture into a salt shaker. Add a label, some ribbon and you're ready to gift.

Note: If you are making this as a dry shampoo, and you have dark hair. You can add in some coco powder to darken the mixture.


Peppermint Lip balm 
What you need:
3 parts bees wax
2 1/2 parts shea butter(you could also use coco butter)
1 part almond oil
several drops peppermint oil

Solid Cologne, or Perfume
What you need:
3 parts bees wax
2 parts coconut oil
1 part almond oil
your favorite essential oils like sandalwood, and clove 

The preparation is the same on the lip balm, and solid cologne/perfume. 


Place all of your ingredients in heat safe container. We found that a glass measuring cup worked best because the pour spout make it easier to pour the lip balm into the tubes. You can either melt your ingredients on the stove in a double boiler like we did. Or you can microwave them. If you use the double boiler method always put the glass measuring cup into cool water. Glass has to heat up slowly or it will crack. We filled the pot 1/3 of the way with cool water, placed the measuring cup with the ingredients into the pot. Then we turned the stove top onto high heat and waited for our ingredients to melt. Stirring it along the way.


While waiting on your mixture to melt lay down some wax paper where you will be pouring the lip balm into the containers. This makes it easier to clean up any possible spills. When your lip balm mixture has melted, carefully pour it into your lip balm containers. You can get lip balm containers online, or at a craft supply store like Hobby Lobby. 

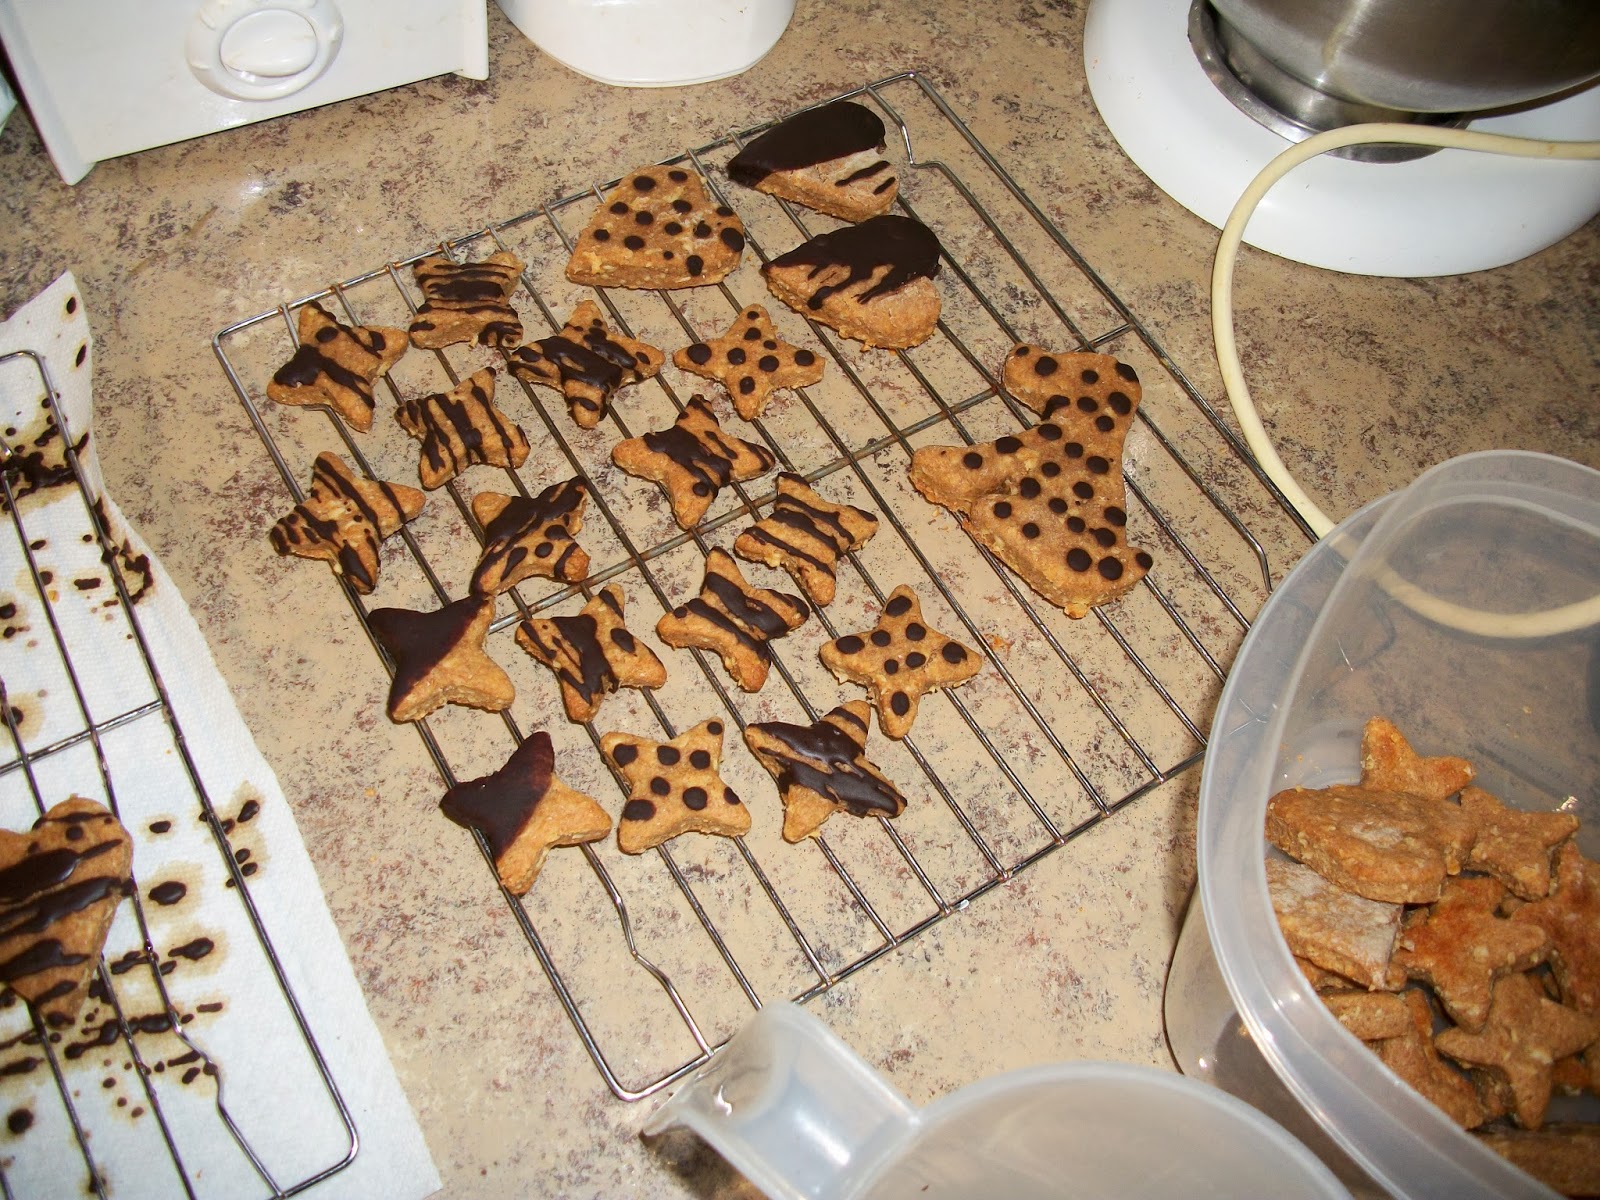
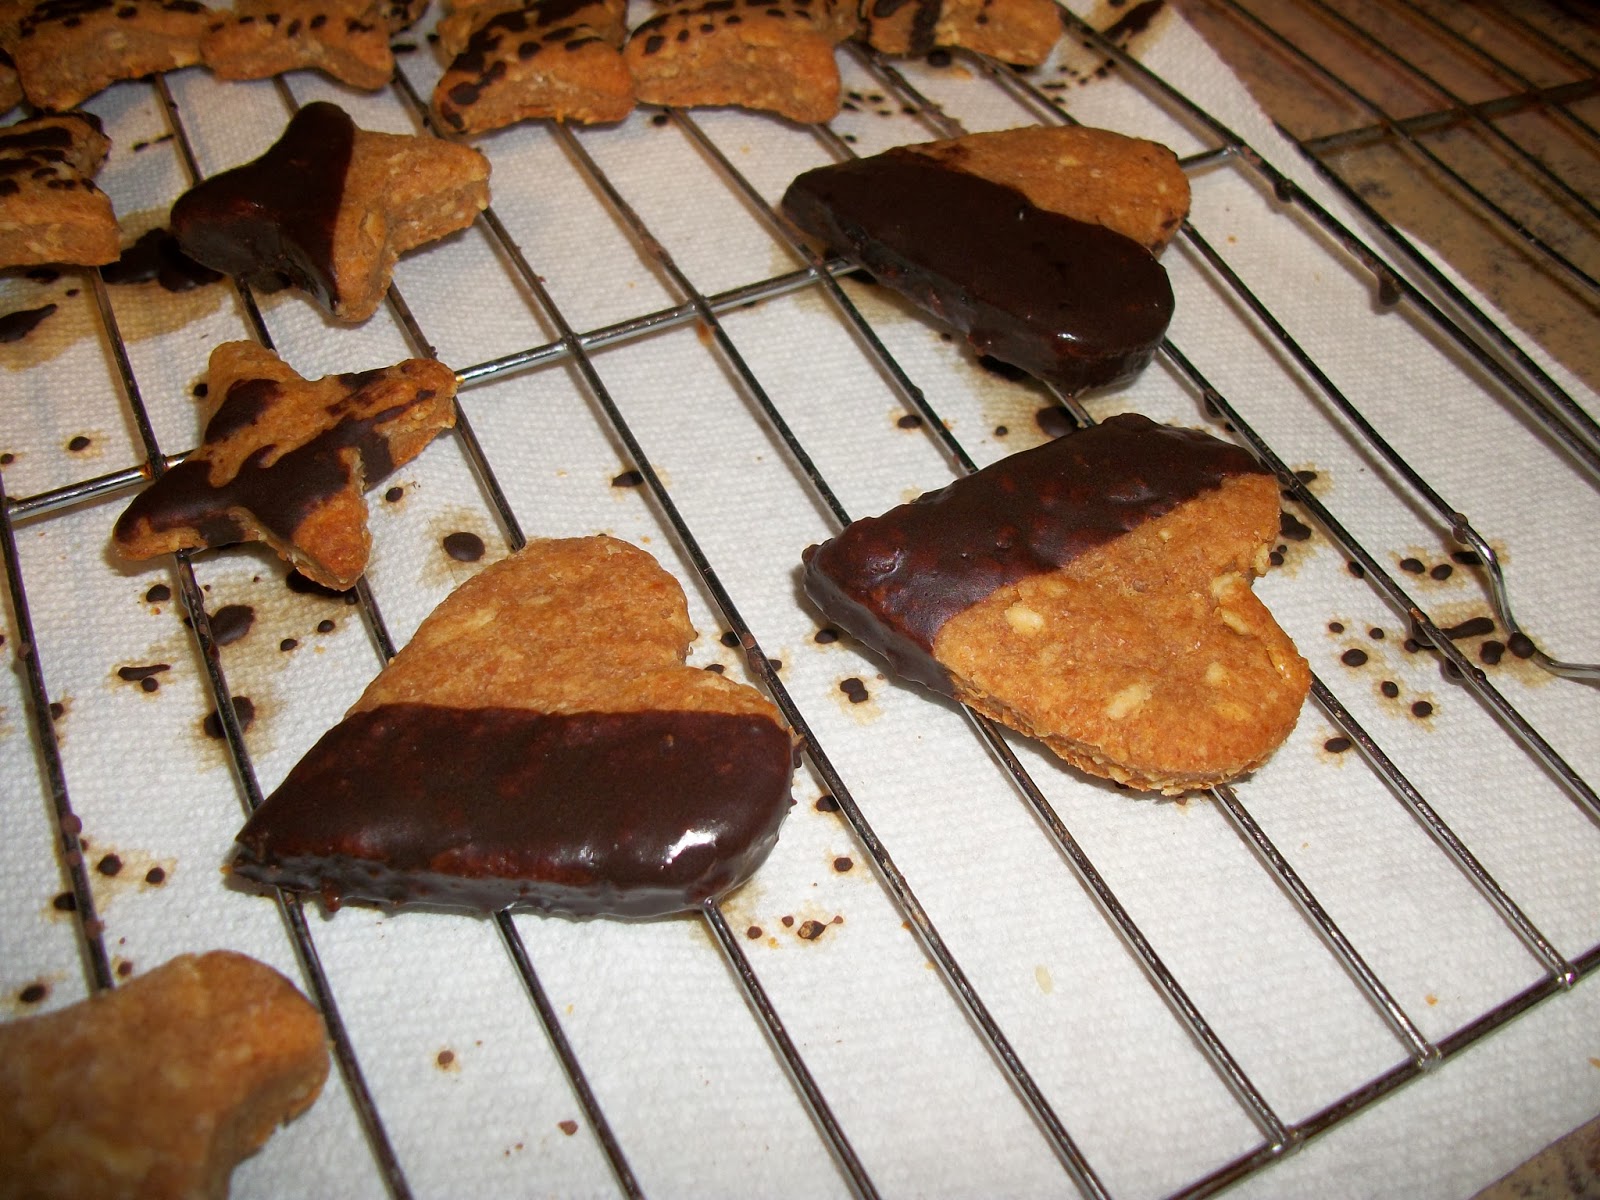
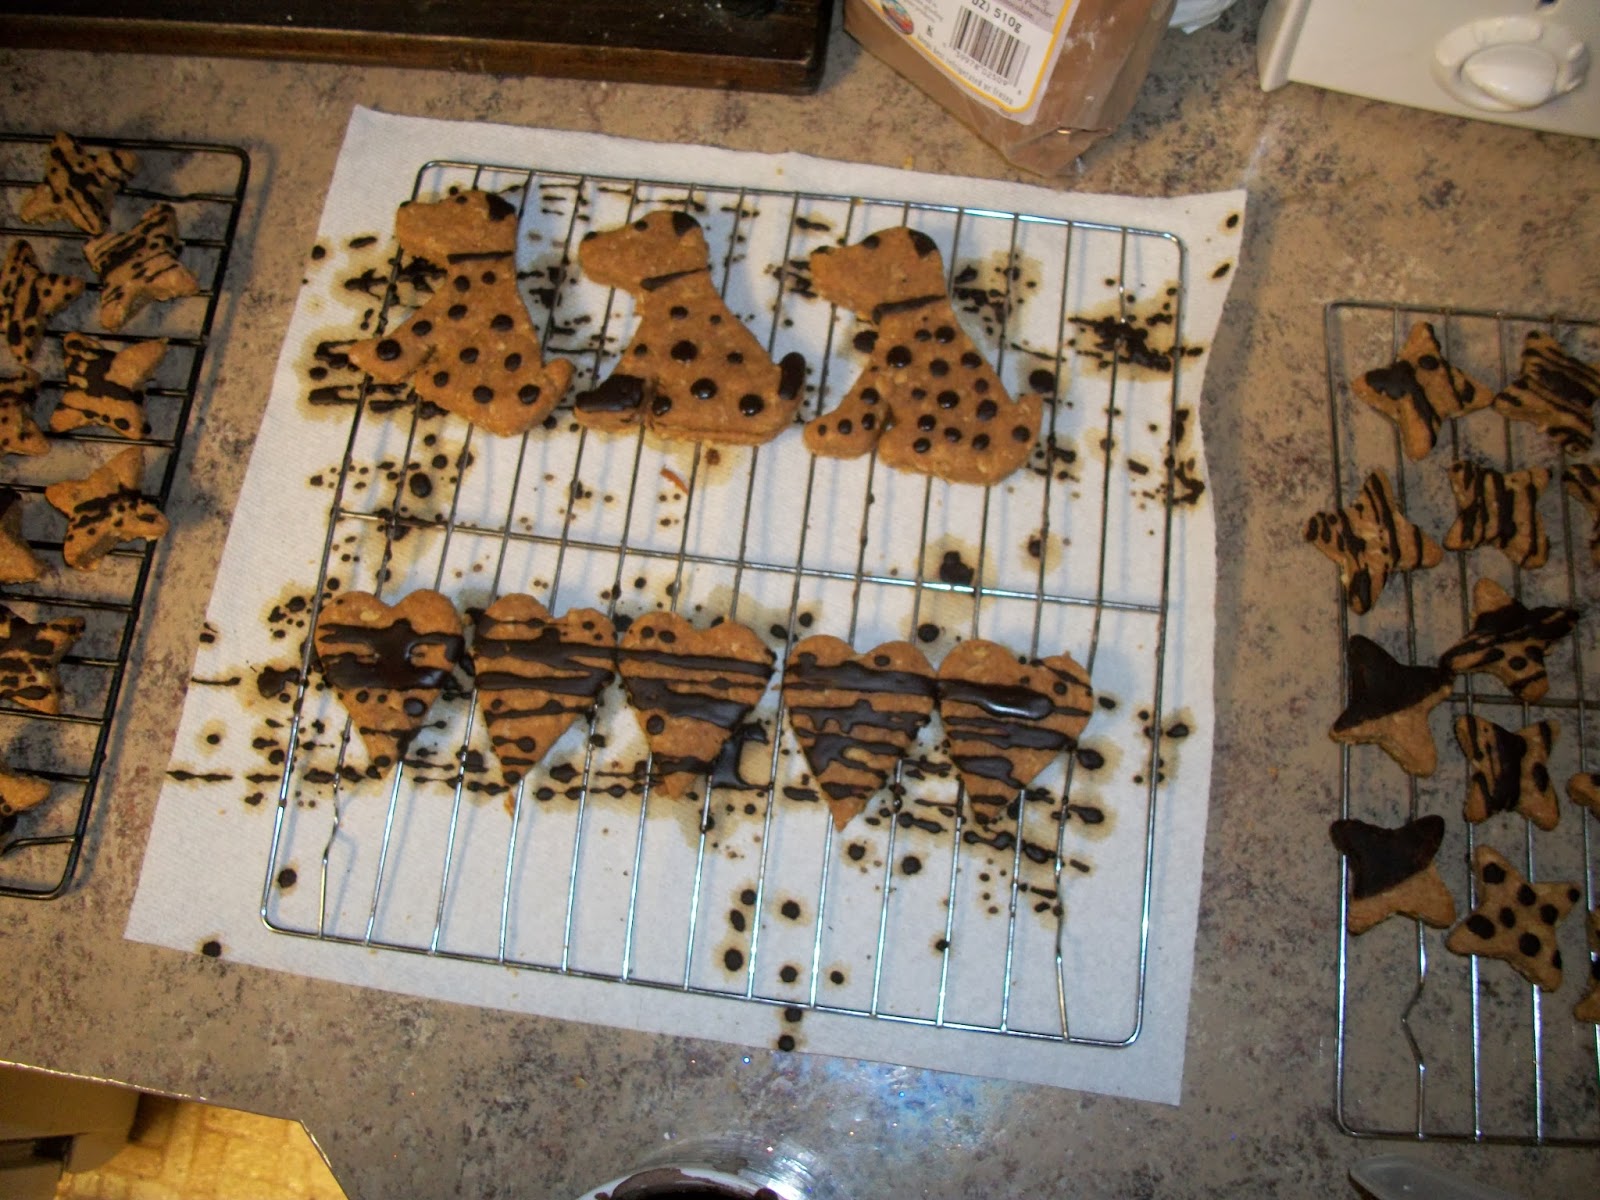
We also put small a bag of homemade hot coco, and a bag of the dry ingredients for my favorite brownie in a cup  along with their directions into the gift bags. I hope you find this helpful. All of these items are very easy to make, and who doesn't love a homemade gift, right? These gifts would be great for any occasion, not just Christmas. Now, while you still have time get to making some homemade Christmas gifts! Like me on Facebook to see more from me. If you love animals check out A&A Pet Grooming. I'm also on Instagram and Pinterest, and Twitter . Check out my other blog for all things nails. 
Have a Merry Christmas,

Sunday, December 22, 2013

Last Minute Christmas Gift: Whipped Peppermint Pattie Sugar Scrub


Hello again everyone! I know it's been a while. So, are you ready for another DIY post? I hope so! This year we chose the theme of "Homemade Christmas". All of our gifts exchanged were homemade. This was a little tricky, but here is one of the gifts we made for the lovely ladies in our family. I love sugar scrub, and this one is chocolate! What woman doesn't love a good chocolate sugar scrub?! I know I already did a post on sugar scrub, but this one is a bit different. Plus this scent is perfect for a last minute Christmas gift! Also, this scrub is all natural! So you don't have to worry about nasty chemicals, and other bad ingredients. So, let's get into it. 
__________________________________________________

I have a video tutorial here if you'd rather watch that.


What you need:
1 Cup coconut oil
1 1/2 Cups sugar(granulated or brown will work)
1 Tablespoon almond oil
2 Tablespoons coco powder
1-2 Drops peppermint oil
A mixer
A container to put your scrub in
(I also added labels and ribbon)


__________________________________________________


Step 1:
Add your sugar. The more sugar the more abrasive your scrub will be. If you feel like you added too much sugar, simply add more oil. 
__________________________________________________


Step 2:
Add your coconut oil. 
__________________________________________________


Step 3:
Add you almond oil. You could also use olive oil, jojoba oil, or avocado oil. 
__________________________________________________


Step 4:
Add your coco powder. The more coco powder the stronger the chocolate smell will be. Keep in mind, adding more powder will change the end result. It might not whip up as well if you add too much.
__________________________________________________


Step 5:
Add your peppermint oil. Be careful this oil is very strong. You only need 1-2 drops. If you add too much peppermint oil it will overpower the coco.(I know, I made this mistake with the first batch I made)
__________________________________________________


Step 6:
Mix all of the ingredients together on a slow speed. After all of the ingredients are well mixed, switch to a high speed and watch it whip up. 


*it might take a couple minutes to whip up your scrub, just keep an eye on it. 
__________________________________________________


Once your scrub is to a whipped consistency that makes you happy, it's time to package it.


Step 7: 

Using a large spoon or ladle gently scoop your scrub into the container. Don't pack it in, gently place it into the container. If you pack it in you will remove all of the air you just whipped into it and it won't be fluffy anymore. We got this cute little glass jars on sale 50% off at Hobby Lobby. Mason jars, or plastic Tupperware will work as well. We also found Christmas plastic Tupperware at Dollar Tree in 2 packs. We put some scrub in those for the kids. 
__________________________________________________


Add some ribbon and bows, and it's ready to gift. 


Or, if you would like to add a little something extra you can label your scrub. I used a little innovation to make these labels. I used paper, and packing tape. Since it was "Homemade Christmas" I was trying to make as much as I could. I simply printed the labels out that I whipped up in Photoshop. I cut them out. Then I laminated them with the packing tape. Used a little of the packing tape to attach them to the jars, and they were all finished. If you'd like to know more about making your own labels just leave me a comment and I can make a whole post on it. If you'd like to make your own labels here are the directions I put on mine, feel free to use them.
Directions for Use:
Gently apply to wet skin 
in a circular motion, 
concentrating on dry 
patches and rough areas 
of your skin.Rinse skin 
clean with warm water 
and then massage in oils
left on skin for a soft, 
silky finish.
__________________________________________________

I hope you've enjoyed this DIY tutorial. I love making these, and really need to work on more of them. I'm going to try and get a couple more up before Christmas( I know I only have a couple days). So, look for more posts from me in the next couple days.  Like me on Facebook to see more from me. If you love animals check out A&A Pet Grooming. I'm also on Instagram and Pinterest, and Twitter . Check out my other blog for all things nails. 
Have a Merry Christmas,


Saturday, November 16, 2013

Homemade Dog Treats: Peanut Butter and Chicken Crunchies, with Carob Drizzle


Hello everyone! I know it's been a while, and I'm sorry. I thought I would share the recipe for some dog treats I made a couple days ago. My dogs love them and I'm sure your's will too. I looked around for a while for a recipe I liked, but couldn't find exactly what I was looking for. So, I sort of winged it. Luckily for me(and you all) it worked out really well. I'm not the best baker, and these were easy. My dogs enjoyed these treats so much that I plan on selling some of these treats at A&A Pet Grooming. I didn't take any pictures of the baking process but I do have pictures of my finished treats. When I make them again I will try and take pictures/video of the baking process and update this post. I do have a poor quality clip of Luna(my beloved maltese) enjoying one of the treats, and one poor quality picture of the dough. I'll add those, but they aren't the best. In the clip Luna might not look too excited to get her treat, but that's only because she isn't allowed to snatch the treat. I have trained her to take treats gently from my hands. Luna won't eat most treats, and she can't get enough of these. If I can make these treats, so can you! I hope you give them a try! 

__________________________________________________

Peanut Butter and Chicken Crunchies
1 cup peanut butter(crunchy or creamy)
2 cups chicken broth or water(you could substitute with water or milk)
1/3 cup coconut oil(any oil should work)
1 cup rolled oats
3-4 cups whole wheat flour(bleached would work as well)
1/4 cup honey(optional) 
_______________________

Carob Drizzle(optional)
3 table spoons carob powder
4 table spoons arrowroot powder(you can substitute with cornstarch)
2-3 table spoons water(more or less depending on how thick you want it)

__________________________________________________


Directions:
Preheat oven to 350 ° F (180 ° C).
In a large saucepan, combine honey, peanut butter, chicken broth, and coconut oil. Heat, stirring often, until mixture begins to simmer. Remove from heat. Stir in rolled oats and let cool until lukewarm -- or cool enough to work with. Gradually blend in flour, adding enough to form a stiff dough. You want the dough to stick to itself, but not you. That's how you know when you've added enough flour.
Transfer to a floured surface and knead until smooth (just a couple minutes). Shape the dough into a ball, and roll to 1/4-inch thick. Use a mini-cookie cutter or cut into small squares. Transfer to ungreased baking sheets(I lined my baking sheets with parchment paper), spacing them about 1/4 inch apart. Gather up the scraps, roll out again, and cut additional biscuits. If the dough becomes too crumbly to work with after a few rollings, sprinkle with a little water to bind it together and knead it for 30 seconds or so. Bake for 30(or for a chewier treat 20-25 minutes) minutes or until golden brown. Makes several dozen small treats that keep and freeze well. 

__________________________________________________

Now, you can stop there. The treats are ready to be eaten as soon as they are cool. However, if you're like me you like to add a little something extra. So once the cookies cool(I let mine cool overnight) mix up your carob drizzle. In a small bowl or cup(deep enough to dip the treats) mix together your carob powder, and arrowroot powder. Slowly add in the water, you don't want it too runny. That's it, your drizzle is ready. Now, you can dip some of your treats into the carob drizzle. Just dip them about halfway and then set the dipped treat on wax paper, or a wire cooling rack with a paper towel under it to catch the drips. You can also put some of the drizzle into a ziplock baggie, cut one of the corners very carefully you don't want the hole too big. Then you lay a few treats in a row on wax paper or wire cooling racks, and drizzle the carob over the treats. This can be a bit messy, but the drizzle wipes up very easily. You could always use a toothpick, or food safe paint brush, and get creative with it. The drizzle does harden up, but will melt if it gets too hot. I put my treats into the fridge for a while to help harden the drizzle. 


__________________________________________________

That's all there is to it. I know it might sound a little complicated, but it's really not. I know I used a couple ingredients that aren't too well known, but you can substitute. I was just trying to make the treats healthy and tasty. I really enjoyed making these treats, and I'm planning on trying out other kinds of treats. I will probably be sharing those recopies as well. Like me on Facebook to see more from me. If you love animals check out A&A Pet Grooming. I'm also on Instagram and Pinterest, and Twitter . Check out my other blog for all things nails. 
Have a blessed day,


Saturday, June 8, 2013

Review: Schwarzkopf Professional OSiS+, Dust It Mattifying Powder

Hello again everyone! I hope you're having a wonderful weekend. Today I'm going to be reviewing one of the products that came in my Influenster Spring Fever VoxBox. I have a blog post explaining what a VoxBox is and what all came in mine. Click here if you want to check that blog post out and learn more. Today we're testing out Schwarzkopf Professional, OSIS Dust It.  It is a multi purpose mattifying powder that adds incredible root lift, texture, and control. Or at least that's what the information card about the product tells me. Keep reading if you want hear my honest thoughts on this product.


Their Influenster page has this to say about this product. 
"Innovative formula with Silica is responsible for the strong matte feeling & volume which makes this product unique and a must have."

It come in a shaker bottle. You have to be very careful, too much product will come out at once if you're not careful.


Below is a list of the claimed benefits taken straight from Influenster page for this product.

Benefits:
  • Incredible root lift
  • Light-weight powder to texturize
  • Soft matte effect
  • Control & separation
  • Long lasting hold & texture
  • Versatile control effect: the more you apply the more control you get

Incredible root lift? Yes, this product gives the look of teased hair without the damage of teasing your hair. As someone who tries to damage my hair as little as possible, I love this!

Light-weight powder to texturize? It is light-weight if you don't apply too much. It is very easily overdone. I little bit goes a very long way.

Soft matte effect? I'm not sure about this. I felt like it would refresh my hair, much like a dry shampoo. However, I didn't really notice much oil absorption. 

Control and separation? I do feel it did pretty well at both control and separation.

Long lasting hold and texture? I just got home from a little fair. After being outside for a couple hours my hair still looks pretty good and the only product I used was Schwarzkopf Professional, OSIS Dust It. I'm pretty impressed.  The texture is very easily overdone. Remember a little goes a long way.

Versatile control effect: the more you apply the more control you get? I don't know about this claim, I found if I applied more it became harder to manage my hair.

My hair type:
I have fine often limp hair. It doesn't hold a tease at all.

This was day three hair. I wanted to test the "mattifying" claim on dirty hair. My hair was a bit oily, and in need of some refreshing. The powder helped a little bit. I still felt like my hair looked a bit dirty. I did get more volume then ever before in my hair without teasing. The powder itself is white, and that made me nervous. I have dark hair and normally white powder leaves my hair looking grey. However, this powder blended in very well. There was no white cast. It was very odd because when you rub it into your hair it changes texture. It goes from a very fine powder to what almost feels liquid. It's not wet though, very odd. It has a nice cooling effect as well.


The only instructions on the bottle itself was "apply to dry hair, shake well before use". I wish there had been instructions on how to apply the product on the bottle or even the packaging for the product. I found the below instructions on the Influenster page for this product.
Application:
  • For instant root lift and volume, sprinkle small amount adding more where needed
  • For more texture and control, rub the powder into your hand, and apply to desired areas
  • Apply to dry hair
  • Style and texture as preferred

I got best results by turning the bottle on it's side and lightly tapping it onto my roots. Then rubbed it in with my fingertips. You just need the smallest amount of this product. Do not turn the bottle upside down and shake. Too much product will come out once. 

Overall, I love this product! It gives my fine limp hair volume without having to tease it. Plus, the volume lasts all day unlike when I tease it. It's quite pricey for such a small bottle ( $23.50 for a .35oz bottle). If you have hair like mine I think it's worth the price. I think this product has become a must have hair product for me! I give this product a 4.5 out of 5 stars. I really think it's a great product. If you have any questions feel free to ask. I'd love to hear from you. Have you tried Schwarzkopf Professional, OSIS Dust It? Let me know what you think about it if you have. Like me on Facebook to see more from me. I'm also on Instagram and Pinterest, and Twitter . Check out my other blog for all things nails. 
Have a blessed day,

Links:


 *I received these products complimentary from Influenster for testing purposes.


Monday, May 27, 2013

Review: Tastykake® Kandy Bar Kakes

Hello again everyone! I hope your Memorial Day was wonderful. I got to celebrate mine by enjoying a yummy Tastykake Kandy Bar sent to me by Influenster. I had never heard of the brand Tastykake before, it's always exciting trying new things!


Here is what their profile on Influenster says, "Kandy Bar Kakes are the best of both worlds. Light and fluffy chocolate enrobed cakes come in a unique kandy bar shape with a delicious créme filling made with your favorite candy flavors. Available in S'mores, Peppermint, and Peanut Butter flavor". 


I got the peanut butter flavor, made with Reese's peanut butter(yum). When I opened my Tastykake, I was a bit disappointed because the outer chocolate coating was crumbling off. I'm assuming it became so crumbly in transit. However, despite the crumbling chocolate, this Tastykake Kandy Bar was delicious.


It wasn't too sweet as I was afraid it might be. When I looked at it, I thought it would be like any of the other store bought snack cakes. It wasn't at all though. I loved the balance of salty from the peanut butter, and sweet from the kake, créme filling and chocolate.


 The price seems to be a bit higher than the other snack cakes at,  Single Serve - $1.69 Family Pack - $4.49. The family pack has 5 individually wrapped bars in each box. I would give this a 4 out of 5 stars, it might have gotten a 5 if mine hadn't been so crumbly. I say give them a try if you're looking for a new snack, and you enjoy these kind of snack cakes.
Time for some Links, 
Tastykake Website

Go Like Tastykake on Facebook, here.

 If you have any questions feel free to ask. I'd love to hear from you. Have you tried Tastykake Kandy Bars? Let me know what you think about them if you have. Like me on Facebook to see more from me. I'm also on Instagram and Pinterest, and Twitter . Check out my other blog for all things nails. 
Have a blessed day,


 *I received these products complimentary from Influenster for testing purposes.

Sunday, May 26, 2013

Influenster Spring Fever VoxBox 2013

Hello again everyone! I hope you're having a great weekend. Are you ready for Memorial day? Today's post is going to be a little different from my other posts. It's pretty exciting. I was sent the Spring Fever VoxBox from Influenster. If you don't know what Influenster is don't worry, I'll  tell you all about them. Here is what their website says

"Basically, Influenster is a place for culture junkies to come together and share their unique opinions of products and experiences. Active members of Influenster get exclusive access to deals, promotions, and swag from brands that thrive off the input (the good, the bad, and the ugly -- they just want to know what's up).

Anyone can request an invite, and it's free. If you qualify you can receive free products to review. All you have to do is give your honest opinion on the products sent to you. I qualified for their spring fever VoxBox, yay. A VoxBox is a box sent to you of full size, or deluxe samples of products to test out. This is my second VoxBox to receive from Influenster. However it's been over a year since my last one. I got my VoxBox in on Friday, and here is my overview post about the box. I'm planning on doing more in-depth posts on each product. This post is just to show you what came in my VoxBox. 

Request your Influenster invite here!


Above is what my Spring Fever VoxBox looked like when it came in the mail, before I opened it.
__________________________________________________

Above is what my Spring Fever VoxBox looked like when I first opened it. All I did was move the cards so you could see the products. 
__________________________________________________


Above is the front and back the info card that comes in the box. It tells you about each product.
__________________________________________________

Above is a full size deodorant. The info card says "Secret Outlast Clear Gel Antiperspirant/Deodorant leaves fewer white marks on clothes than the next leading invisible solid! And, with 48 hour odor and wetness protection at such a low price, why pay more?"($4.59)
__________________________________________________

Above is a full size hair product. The info card says " Schwarzkopf Professional, OSIS Dust It is a multi purpose mattifying powder that add incredible root lift, texture, and control." ($23.50)
There was also a coupon for $5 off this product at Ulta in the box. 
__________________________________________________


Above is a full size product. The info card says "Broadway Nails imPRESS Press-on Manicure features advanced technology, so you can get a salon-perfect manicure in seconds- simply peel off, press on, and you're done. There's no drying, a killer shine, and a manicure that lasts up to a week!($5.99-$7.99)
__________________________________________________


Above is a full sized lip product. The info card says "NYC New York Color Applelicious Glossy Lip Balm delivers color, shine and moisture in one single swipe! The unique apple-shaped core is filled with Shea Butter, Jojoba Oil, Vitamin E, and Avocado oil to give lips a healthy, irresistible look." ($2.99)
__________________________________________________

 Above is a full sized snake cake. The info card says "TastyKake Kandy Bar Kakes are light and fluffy chocolate enrobed cakes with delicious creme filling in a unique kandy bar shape. Available in S'mores, Peppermint, and Peanut Butter.($4.99 per box) 
__________________________________________________


Here is one last picture of all the items I received in my Influenster Spring Fever VoxBox. I'm happy with what I received and I look forward to updating you all on how these products worked out for me. I love Influenster, I mean who doesn't love getting free stuff! I hope to receive more items from Influenster to review, I love testing new products! You should go sign up for Influenster and maybe you too can test out new products.If you have any questions feel free to ask. I'd love to hear from you. Like me on Facebook to see more from me. I'm also on Instagram and Pinterest, and Twitter . Check out my other blog for all things nails. 
Have a blessed day,


                       *I received these products complimentary from Influenster for testing purposes.