Showing posts with label sugar scrub. Show all posts

Sunday, December 22, 2013

Last Minute Christmas Gift: Whipped Peppermint Pattie Sugar Scrub


Hello again everyone! I know it's been a while. So, are you ready for another DIY post? I hope so! This year we chose the theme of "Homemade Christmas". All of our gifts exchanged were homemade. This was a little tricky, but here is one of the gifts we made for the lovely ladies in our family. I love sugar scrub, and this one is chocolate! What woman doesn't love a good chocolate sugar scrub?! I know I already did a post on sugar scrub, but this one is a bit different. Plus this scent is perfect for a last minute Christmas gift! Also, this scrub is all natural! So you don't have to worry about nasty chemicals, and other bad ingredients. So, let's get into it. 
__________________________________________________

I have a video tutorial here if you'd rather watch that.


What you need:
1 Cup coconut oil
1 1/2 Cups sugar(granulated or brown will work)
1 Tablespoon almond oil
2 Tablespoons coco powder
1-2 Drops peppermint oil
A mixer
A container to put your scrub in
(I also added labels and ribbon)


__________________________________________________


Step 1:
Add your sugar. The more sugar the more abrasive your scrub will be. If you feel like you added too much sugar, simply add more oil. 
__________________________________________________


Step 2:
Add your coconut oil. 
__________________________________________________


Step 3:
Add you almond oil. You could also use olive oil, jojoba oil, or avocado oil. 
__________________________________________________


Step 4:
Add your coco powder. The more coco powder the stronger the chocolate smell will be. Keep in mind, adding more powder will change the end result. It might not whip up as well if you add too much.
__________________________________________________


Step 5:
Add your peppermint oil. Be careful this oil is very strong. You only need 1-2 drops. If you add too much peppermint oil it will overpower the coco.(I know, I made this mistake with the first batch I made)
__________________________________________________


Step 6:
Mix all of the ingredients together on a slow speed. After all of the ingredients are well mixed, switch to a high speed and watch it whip up. 


*it might take a couple minutes to whip up your scrub, just keep an eye on it. 
__________________________________________________


Once your scrub is to a whipped consistency that makes you happy, it's time to package it.
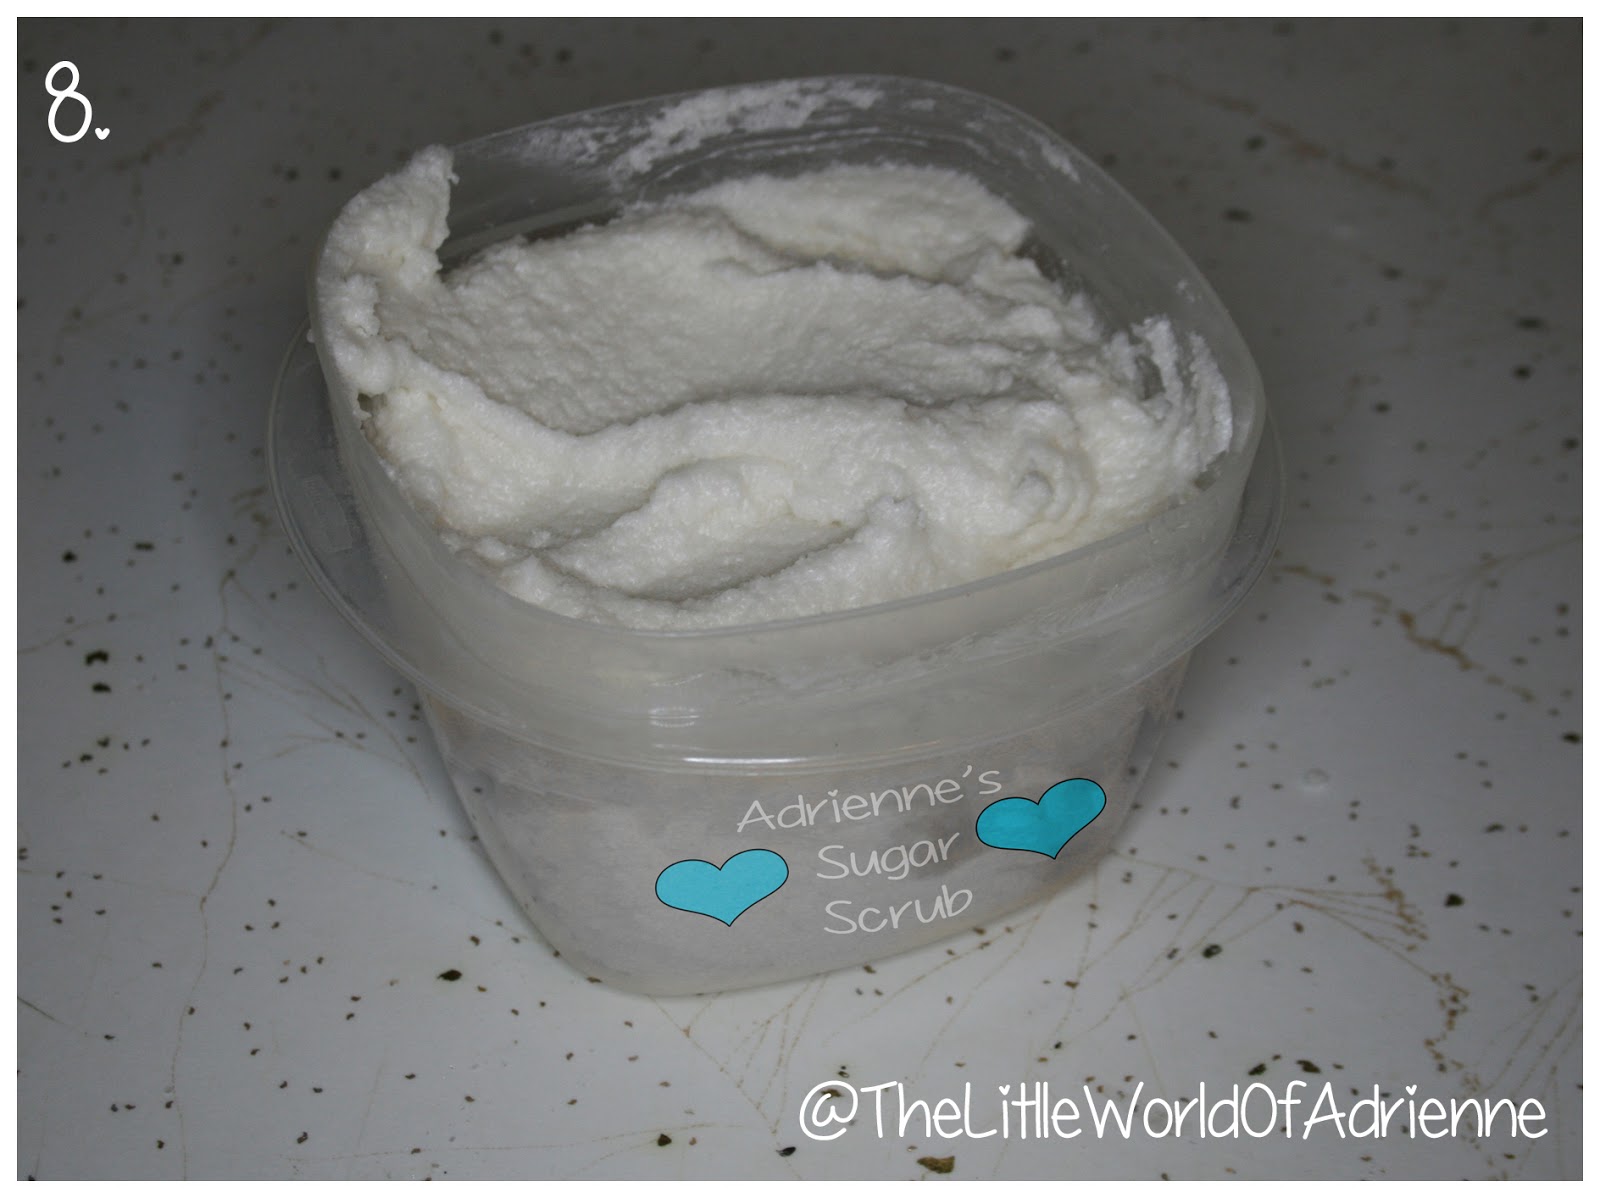


Step 7: 

Using a large spoon or ladle gently scoop your scrub into the container. Don't pack it in, gently place it into the container. If you pack it in you will remove all of the air you just whipped into it and it won't be fluffy anymore. We got this cute little glass jars on sale 50% off at Hobby Lobby. Mason jars, or plastic Tupperware will work as well. We also found Christmas plastic Tupperware at Dollar Tree in 2 packs. We put some scrub in those for the kids. 
__________________________________________________


Add some ribbon and bows, and it's ready to gift. 


Or, if you would like to add a little something extra you can label your scrub. I used a little innovation to make these labels. I used paper, and packing tape. Since it was "Homemade Christmas" I was trying to make as much as I could. I simply printed the labels out that I whipped up in Photoshop. I cut them out. Then I laminated them with the packing tape. Used a little of the packing tape to attach them to the jars, and they were all finished. If you'd like to know more about making your own labels just leave me a comment and I can make a whole post on it. If you'd like to make your own labels here are the directions I put on mine, feel free to use them.
Directions for Use:
Gently apply to wet skin 
in a circular motion, 
concentrating on dry 
patches and rough areas 
of your skin.Rinse skin 
clean with warm water 
and then massage in oils
left on skin for a soft, 
silky finish.
__________________________________________________

I hope you've enjoyed this DIY tutorial. I love making these, and really need to work on more of them. I'm going to try and get a couple more up before Christmas( I know I only have a couple days). So, look for more posts from me in the next couple days.  Like me on Facebook to see more from me. If you love animals check out A&A Pet Grooming. I'm also on Instagram and Pinterest, and Twitter . Check out my other blog for all things nails. 
Have a Merry Christmas,


Monday, April 29, 2013

DIY: Sugar scrub

Hello everyone! I hope you're having a good Monday! I'm sorry it's been a while since my last post, but here is a new one. So, get excited! Today I'm going to show you how I make my own sugar scrub at home. I have dry skin, so I need a moisturizing scrub. One that will nourish my skin, but get rid of all that flaky dead skin. I tried so many store bought scrubs, and was never happy with how they performed. However, this scrub, gets rid of all my flaky skin, and leaves my skin highly moisturized. There are many recipes for DIY scrubs online, this is how I make mine. The best part is it's natural, and you know exactly what's being put on your skin. All you need is 2 ingredients for a basic scrub. I like to use a few other ingredients, but they aren't necessary to make a good scrub. Lets get into it! 


For a basic scrub you need:
3/4 cup of coconut oil
1 cup of sugar
a mixing bowl
and something to stir with.


You can use any kind of sugar(except powdered sugar). Brown sugar makes for a more gentle scrub. If you have oily skin, you can use salt. I personally can't use salt because it dries out my skin. The finer the grain of your sugar or salt, the more gentle the scrub.The larger the grain the more harsh your scrub will be.

You can use olive oil if you don't have coconut oil on hand. 
The coconut oil I'm using today isn't my first choice. This is just the only one the stores near me have. I am ordering my favorite one soon. I'll link it below. I want to rave about coconut oil, but I'm going to do a separate post on it soon. So, look forward to that! Just know, I love coconut oil, and it's amazing for your skin and hair.


optional ingredients:
Honey(pure, raw honey is best) for it's natural antimicrobial properties
Vanilla, for a lovely scent
Jojoba oil, beneficial as a moisturizer
Almond oil, helps cure acne
Grapeseed oil, for it's ability to nourish the skin

All of these optional ingredients have so many more benefits than I have listed. However, you don't need to add these items for the scrub to be amazing. These ingredients just make it even more amazing.

Step 1: 
Measure out 3/4 cup of coconut oil. You might need to melt it depending on the temperature of your house. I had to melt mine on the stove for less than a minute to get it to this consistency. You don't have to melt it, but it does mix easier when you do.

If you're making the basic sugar scrub with just two ingredients, skip down to step six.

Step 2:
If you're adding any extra oils, this is when you add them. I added 1 tsp each of, almond, jojoba, and grapeseed oil.


Step 3:
This is another optional step. Add any skin safe fragrance you'd like at this point. You can add a couple drops of your favorite essential oil, or use 1 tsp of vanilla like I did. 

Sometimes, I like to add a couple drops of peppermint oil at this point. It adds a nice tingle, if you like that. Just don't add too much, it's a very potent oil. 

Step 4:
This is another optional step. Add one tablespoon of raw honey. Honey locks in moisture, and is naturally antimicrobial. It helps fight acne, and moisturizes skin. Plus, it adds a heavenly scent. 


Step 5:
Stir all the ingredients together. You want them mixed well before adding the sugar. 


Step 6:
Add 1 cup of sugar. If you want a more abrasive scrub add a little more sugar, if you want a more gentle scrub add a little less. It's easy to customize to your skin, and your needs.

Step 7:
Mix your scrub well. You want to make sure all of the ingredients are evenly distributed. It will kind of look like mashed potatoes. Which is a bit odd, I know, but will smell like a heavenly dessert. 


Step 8:
Put your scrub into a container you can put a lid on. I had a much cuter glass container for mine. However, oil, and water lead to me dropping it and breaking it. So, I'd suggest if you're a little clumsy like I am, use a plastic container.
__________________________________________________

That's all there is to it! Sometimes I like to use a mixer and whip up the scrub, just for fun. It whips up very nicely, but if it heats up too much the fluff with dissipate over time. You could add cosmetic grade dye, to add some fun color if you'd like. 

I like to keep mine in my bathroom. I use it on my whole body, and love to use it just before I shave. Not only does it get rid of dead skin ensuring a closer shave, but the oils left on your skin from the scrub make for a great shave oil. 

To use it, just wet the skin. Take a generous amount and scrub in circular motions. Scrub gently for 30 seconds to 1 minute. Rinse, and pat skin dry. Pat gently as to not remove all of the oils. The oils will absorb into your skin quickly, leaving your skin smooth and moisturized. I like to use it 2-3 times a week. 


I hope you give this scrub a shot, and say Bye Bye, dull, dry, flaky skin!

Thank you for taking time out of your day to read my blog. I hope you found it helpful, and try your hand at making your own sugar scrub. Play with the ingredients, personalize for your skin type. If you have any questions feel free to ask. I'd love to hear from you. Like me on Facebook to see more from me. I'm also on Instagram and Pinterest, and Twitter . Check out my other blog for all things nails. 
Have a blessed day,